Skip to content
303-755-3566
Mon - Fri: 7am - 6pm | Sat: 8am - 4pm | Sun: Closed
My Account
Wishlist
Cart
Checkout
About Us
Policies
Terms & Conditions
Delivery Information
Returns
Contact Us
My Account
Wishlist
Cart
Checkout
About Us
Policies
Terms & Conditions
Delivery Information
Returns
Contact Us
Now Hiring
Reviews
Search for:
Search
$
0.00
0
Cart
Home
About Us
Contact Us
Household Equipment
Household Equipment
Automotive Tools & Equipment
Electric Equipment & Cords
Floor and Carpet Care
Guest Accomodations
Heaters & Fans
Hospital Equipment
Miscellaneous
Moving & Material Handling Equipment
Automotive Tools & Equipment
Electric Equipment & Cords
Floor and Carpet Care
Guest Accomodations
Heaters & Fans
Hospital Equipment
Miscellaneous
Moving & Material Handling Equipment
Tools & Equipment
Tools & Equipment
Air Compressors
Compaction Equipment
Concrete and Demolition Equipment
Drills & Handheld Power Tools
Earth Moving Equipment
Forklifts
Generators
Lawn & Garden Equipment
Lifts & Hoists/High Reach Equipment
Painting - Drywall - Ladders
Pipe and Plumbing Equipment
Pneumatic Tools
Pressure Washers
Pumps
Saws and Sanders
Welding Equipment
Air Compressors
Compaction Equipment
Concrete and Demolition Equipment
Drills & Handheld Power Tools
Denver Equipment Rental – Earth-Moving Equipment Rental
Forklift Rentals in the Denver Metro Area | All Seasons Rent-All
Generators
Lawn & Garden Equipment Rental
Lifts & Hoists/High Reach Equipment
Painting – Drywall – Ladders
Pipe and Plumbing Equipment
Rental Pneumatic Tools
Pressure Washers
Pumps
Saw and Sander Rental
Welding Equipment
Party & Event Equipment
Party & Event Equipment
Audio & Visual Equipment
Canopies
Food Service Equipment
Party Equipment
Tables and Chairs
Audio & Visual Equipment
Canopies
Food Service Equipment
Party Equipment
Tables and Chairs
Blog
303-755-3566
Mon - Fri: 7am - 6pm | Sat: 8am - 4pm | Sun: Closed
Home
My Account
Wishlist
Cart
Checkout
About Us
Policies
Terms & Conditions
Delivery Information
Returns
Contact Us
Home
My Account
Wishlist
Cart
Checkout
About Us
Policies
Terms & Conditions
Delivery Information
Returns
Contact Us
Now Hiring
Reviews
$
0.00
0
Cart
Search for:
Search
Home
About Us
Contact Us
Household Equipment
Automotive Tools & Equipment
Electric Equipment & Cords
Floor and Carpet Care
Guest Accomodations
Heaters & Fans
Hospital Equipment
Miscellaneous
Moving & Material Handling Equipment
Tools & Equipment
Air Compressors
Compaction Equipment
Concrete and Demolition Equipment
Drills & Handheld Power Tools
Denver Equipment Rental – Earth-Moving Equipment Rental
Forklift Rentals in the Denver Metro Area | All Seasons Rent-All
Generators
Lawn & Garden Equipment Rental
Lifts & Hoists/High Reach Equipment
Painting – Drywall – Ladders
Pipe and Plumbing Equipment
Rental Pneumatic Tools
Pressure Washers
Pumps
Saw and Sander Rental
Welding Equipment
Party & Event Equipment
Audio & Visual Equipment
Canopies
Food Service Equipment
Party Equipment
Tables and Chairs
Blog
Search for:
Home
/
Tools & Equipment
/
Concrete and Demolition Equipment
/ Jack Hammer – Electric 65lbs HILTI
Concrete and Demolition Equipment
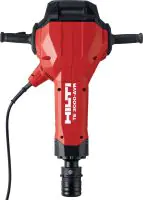
Jack Hammer – Electric 65lbs HILTI
$
95.00
–
$
1,370.00
Hours
Choose an option
Min-Hour
4-Hour
Day
Week
4 week
Clear
Jack Hammer - Electric 65lbs HILTI quantity
Add to cart
SKU:
N/A
Category:
Concrete and Demolition Equipment
Tag:
Hammers
Description
Additional information
Features
Upgraded performance – the TE 3000 now delivers demolition power comparable to 45 kg air-powered breakers
Improved handling – 10% weight reduction and new top handle make the jackhammer easier to control and transport
Active Vibration Reduction (AVR) – vibration-damped jackhammer with two fully decoupled handles and -10% lower vibration than previous TE 3000 models
Redesigned quick change chuck – takes new Hilti TE-H chisels
Virtually maintenance-free brushless motor and triple-chamber lubrication systems for less downtime and longer lifetime
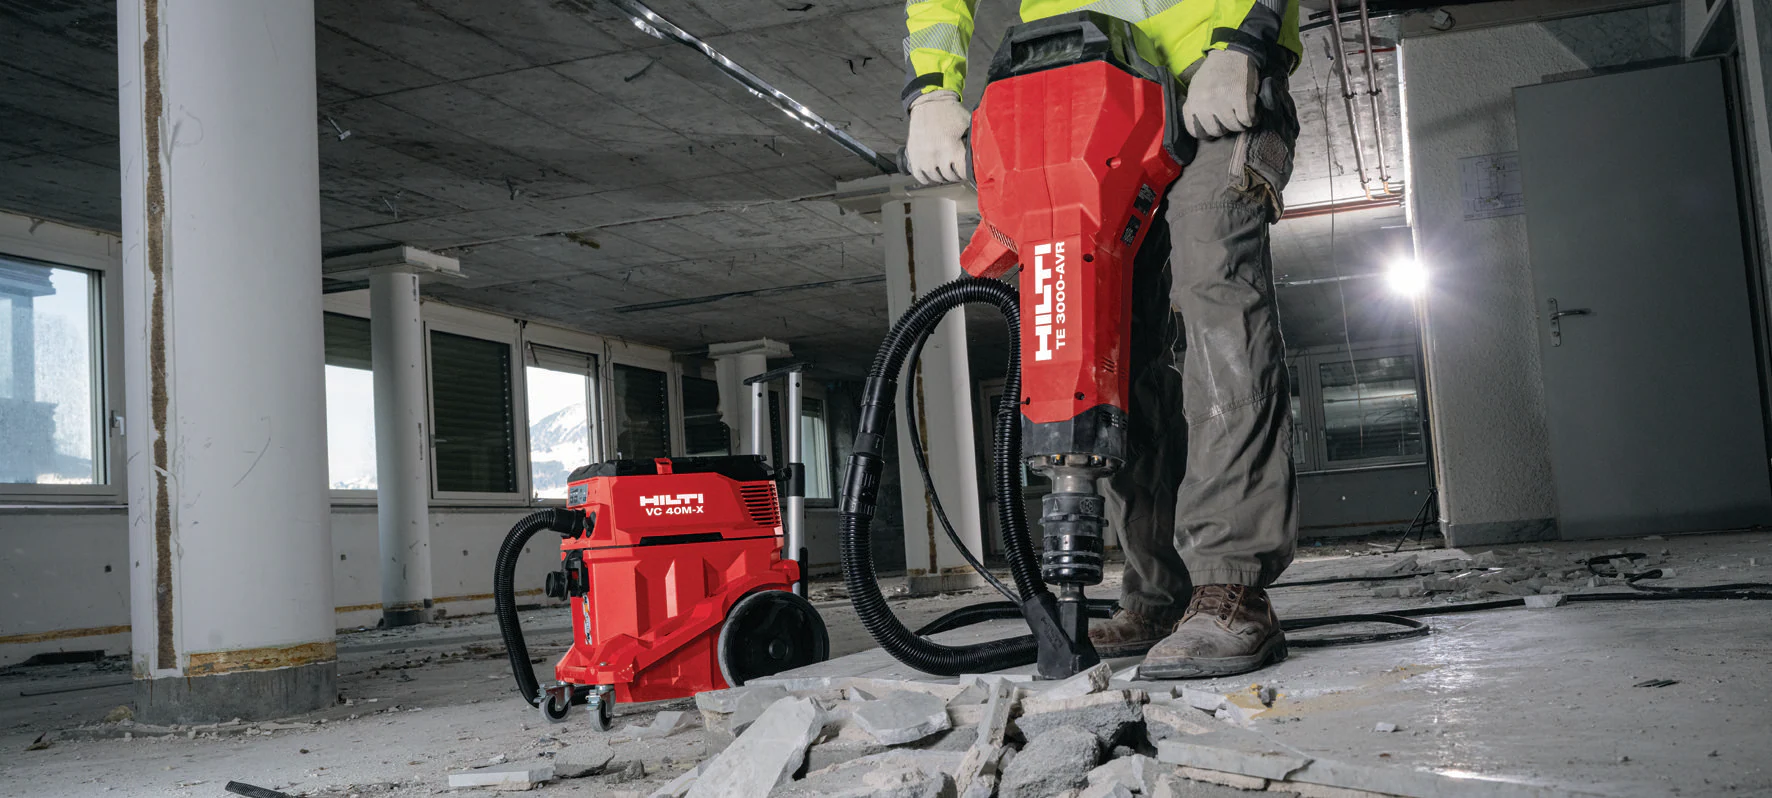
Applications
Demolishing reinforced concrete slabs and foundations
Breaking/cutting asphalt in civil road construction, pipe laying and pavement repair
Removing concrete for structural restoration, slab extensions, rebar reinforcement and repair
Digging, trenching and tamping in rocky, hard clay and other dense earthwork
Setting ground rods in hard soils for a safer, ladder-free installation of earthing rods (optional TE-H PD Power Driver required)
Hours
Min-Hour
,
4-Hour
,
Day
,
Week
,
4 week
Related products
Concrete and Demolition Equipment
MOTAR MIXER- 8 CU FT TOWABLE
Rated
0
out of 5
$
80.00
–
$
1,260.00
Select options
This product has multiple variants. The options may be chosen on the product page
Concrete and Demolition Equipment
Concrete Circular Saw – 16″ Gas
Rated
0
out of 5
$
62.00
–
$
1,056.00
Select options
This product has multiple variants. The options may be chosen on the product page
Concrete and Demolition Equipment
Stud Gun – 22 Caliber
Rated
0
out of 5
$
28.00
–
$
263.00
Select options
This product has multiple variants. The options may be chosen on the product page
Concrete and Demolition Equipment
CEMENT MIXER 9 CU FT “TOWABLE”
Rated
0
out of 5
$
80.00
–
$
1,260.00
Select options
This product has multiple variants. The options may be chosen on the product page
Scroll to Top